
Click on the photos to see them full-size.
|
|
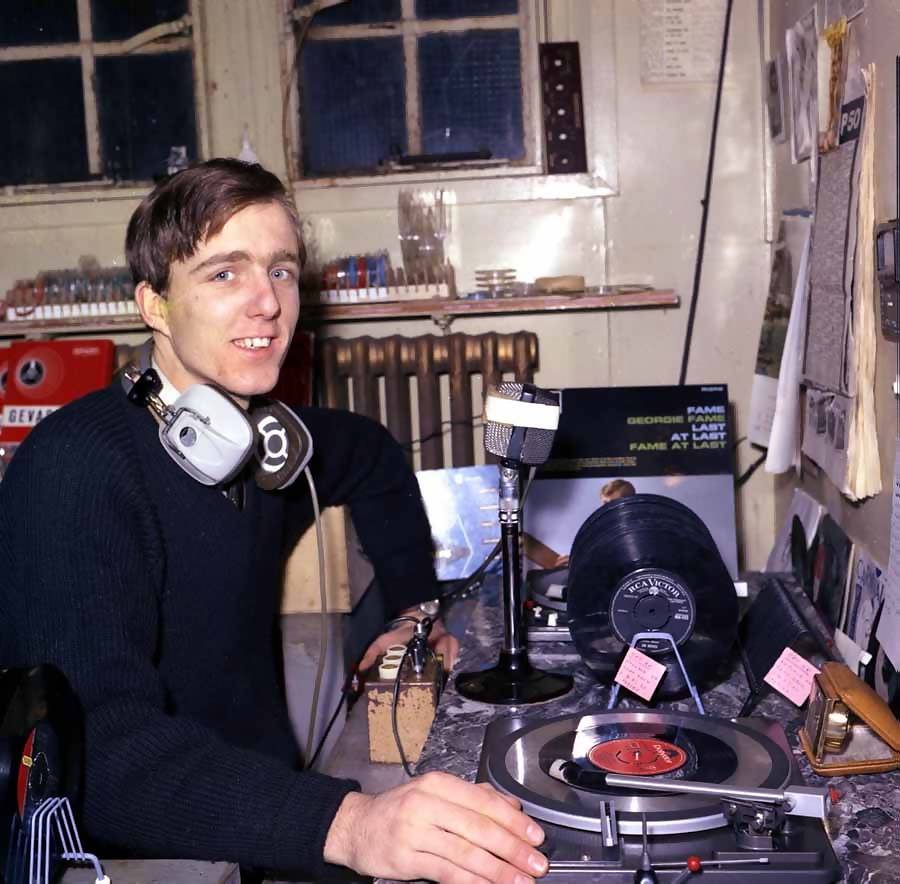
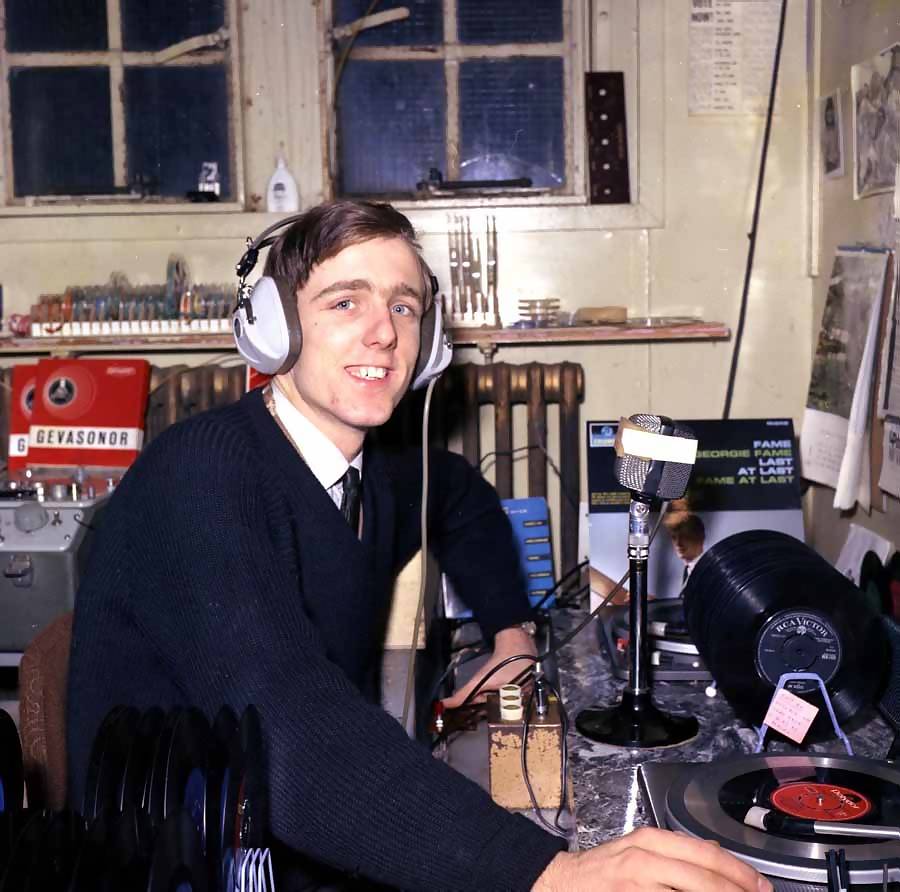
| Eric Jay in the studio. These two photos were taken by his colleague Chris Cross. | |

Chris Cross in the transmitter room. |
Chris Cross on the landing stage at the base of one of the towers. |
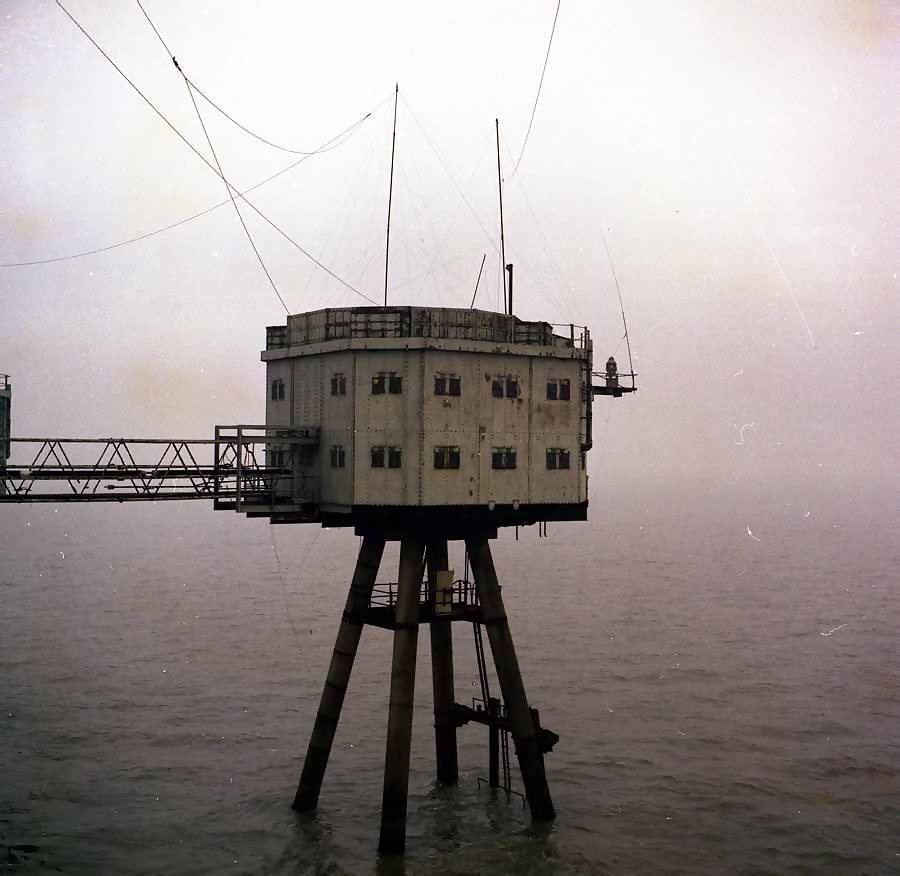
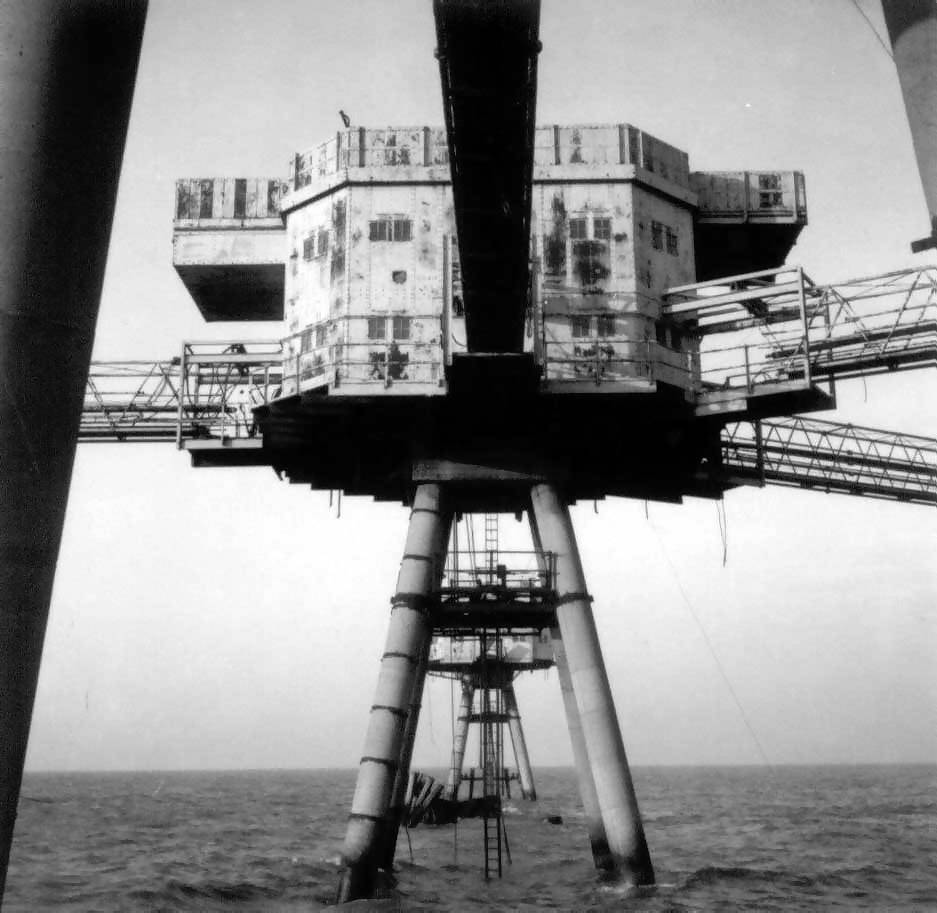
One of the towers of Shivering Sands. |

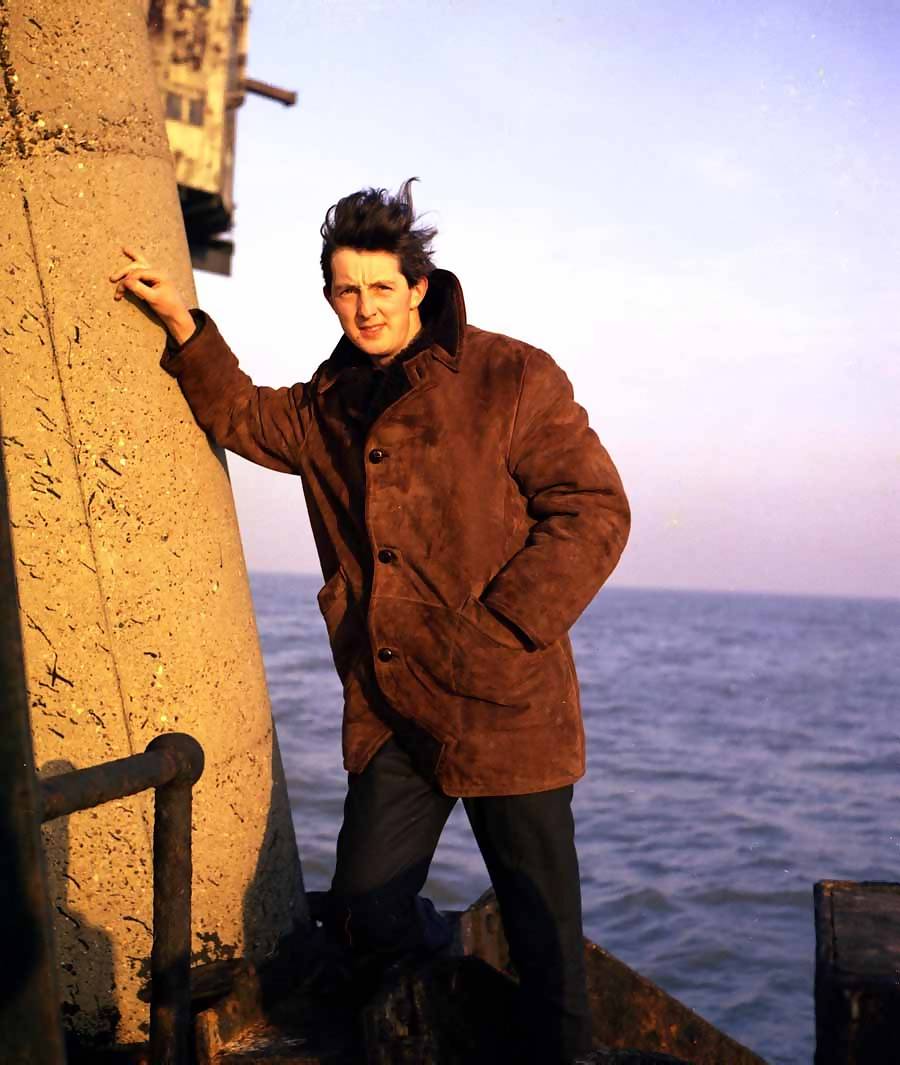
Chris Cross. |

The station tender, the Harvester II. |
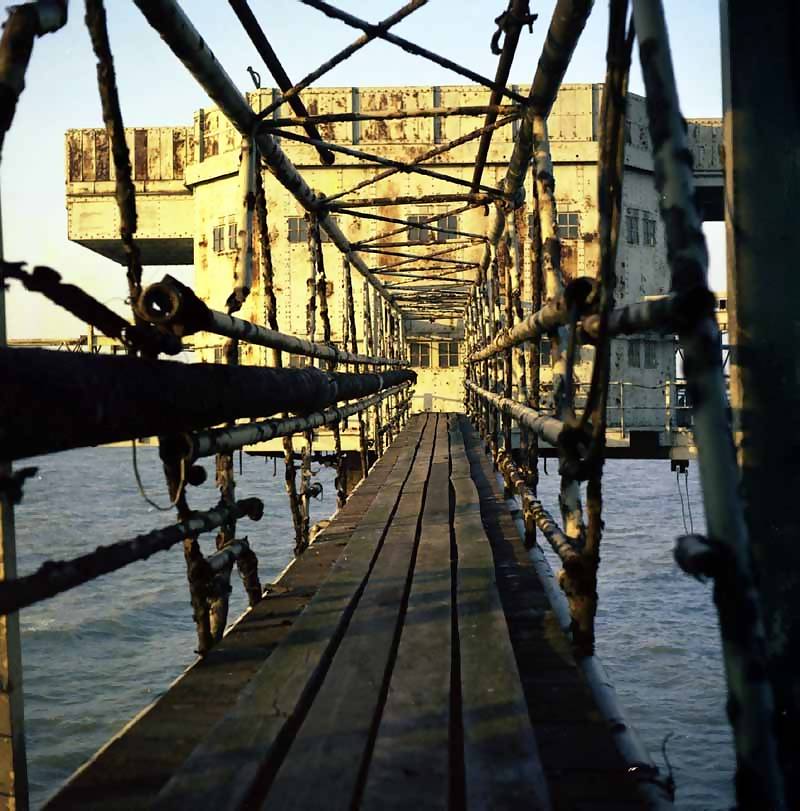
One of the catwalks connecting the towers that made up Shivering Sands. |
|
|
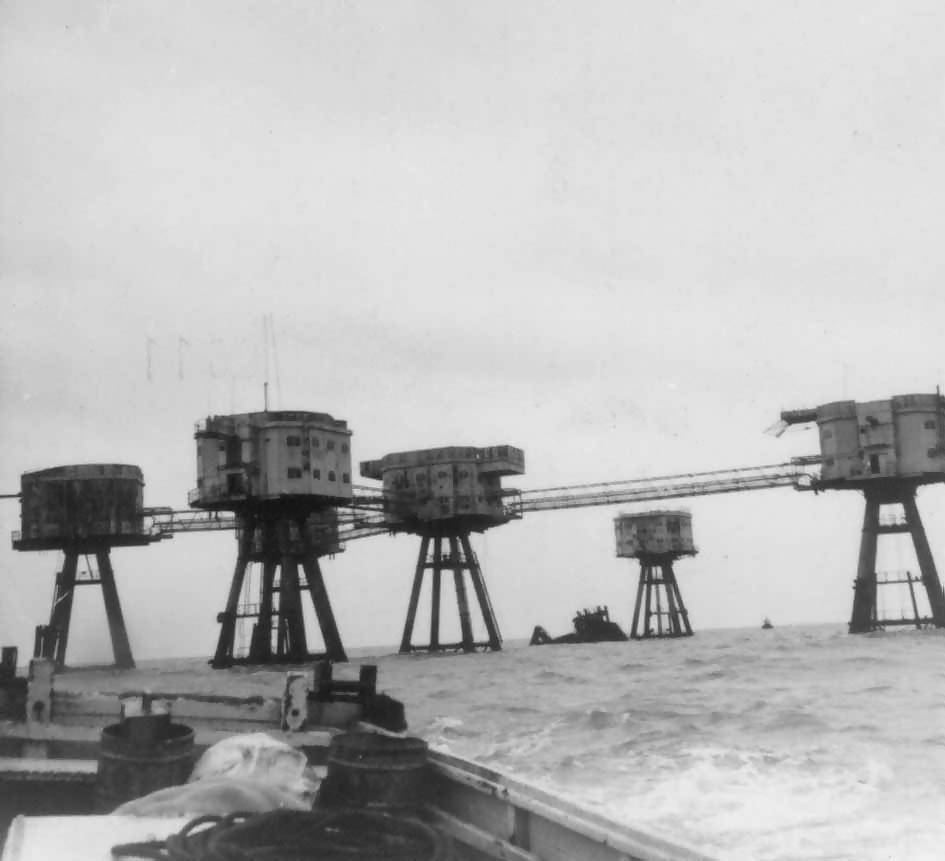
| Shivering Sands from below. Two pictures taken from on board the tender. | |
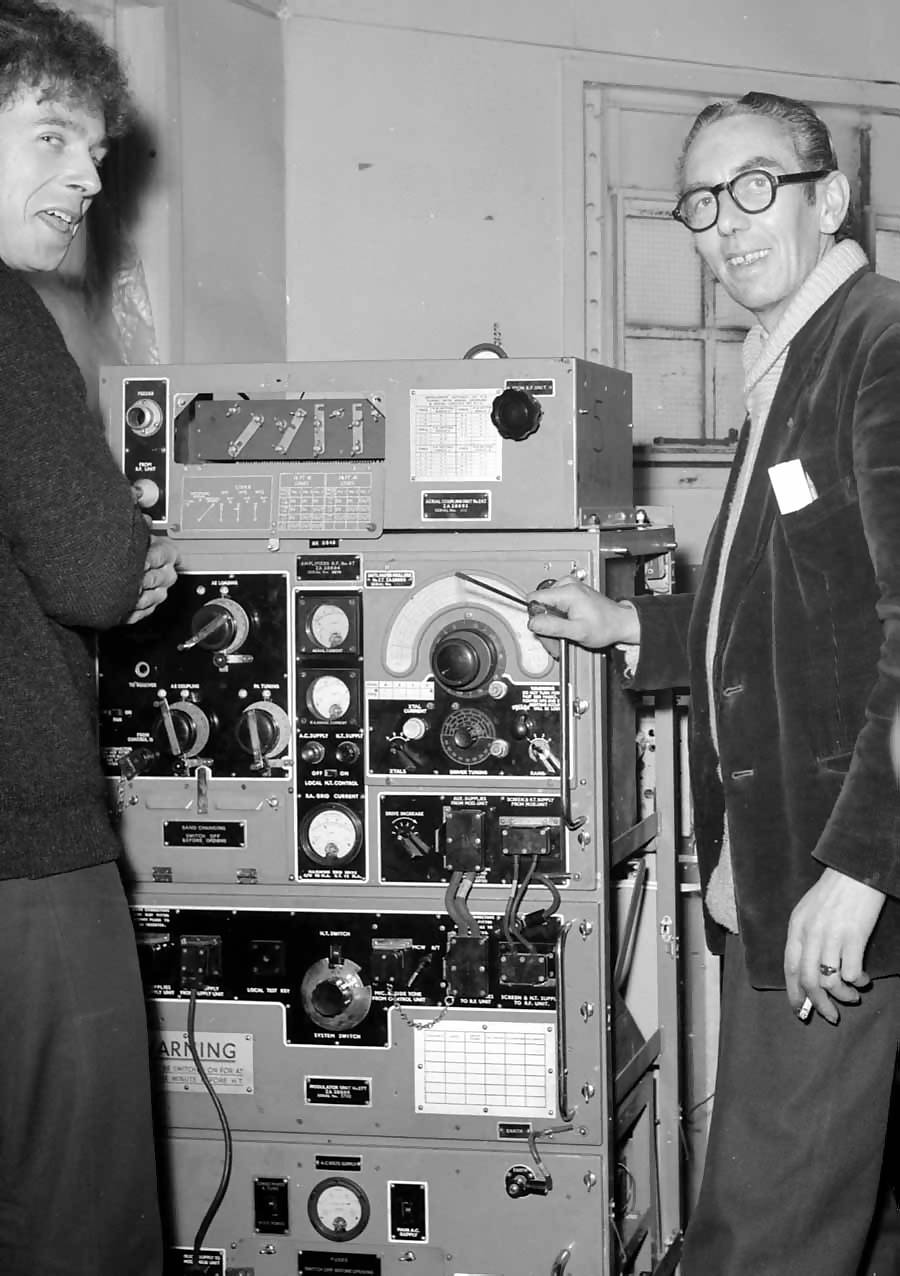
Engineers Dick Dixon, left, and Don Witts. |
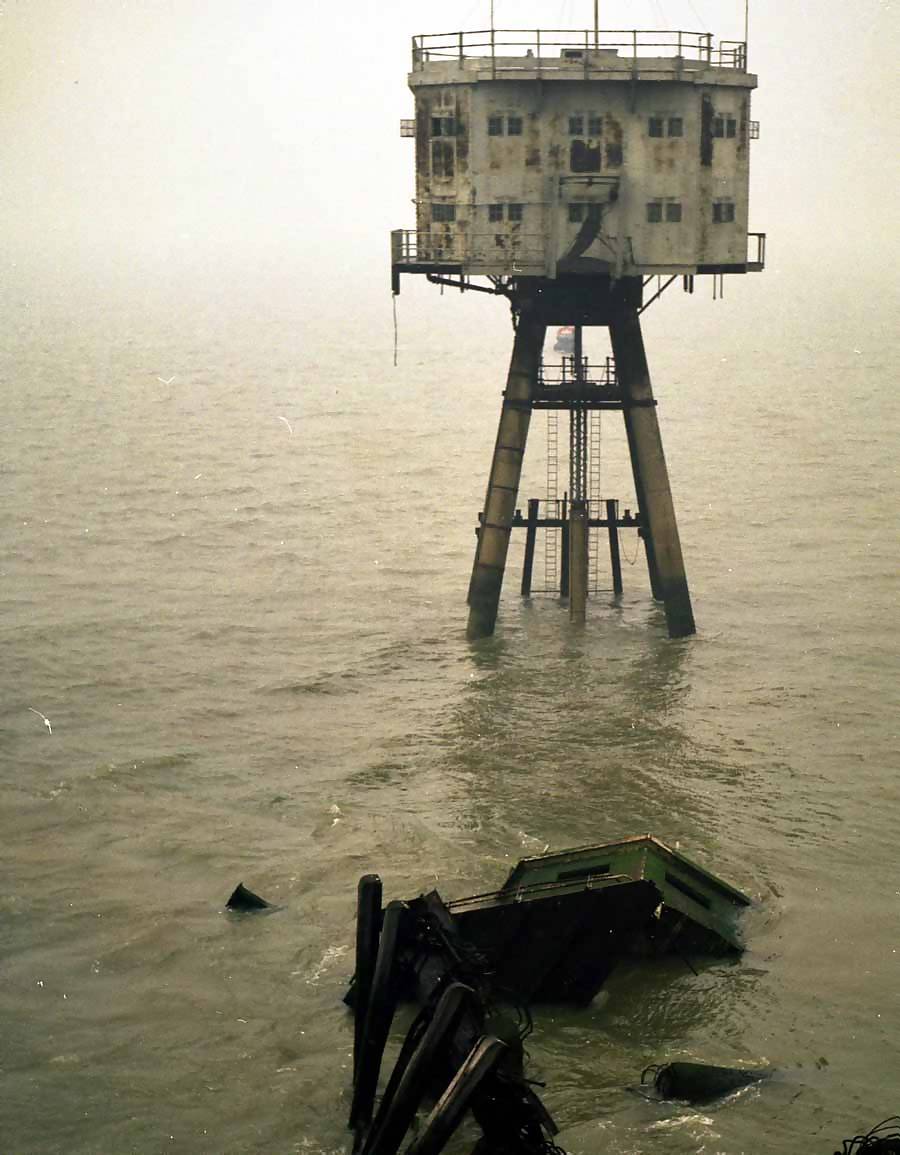
Derelict tower. This part of Shivering Sands was not used by the station. |